
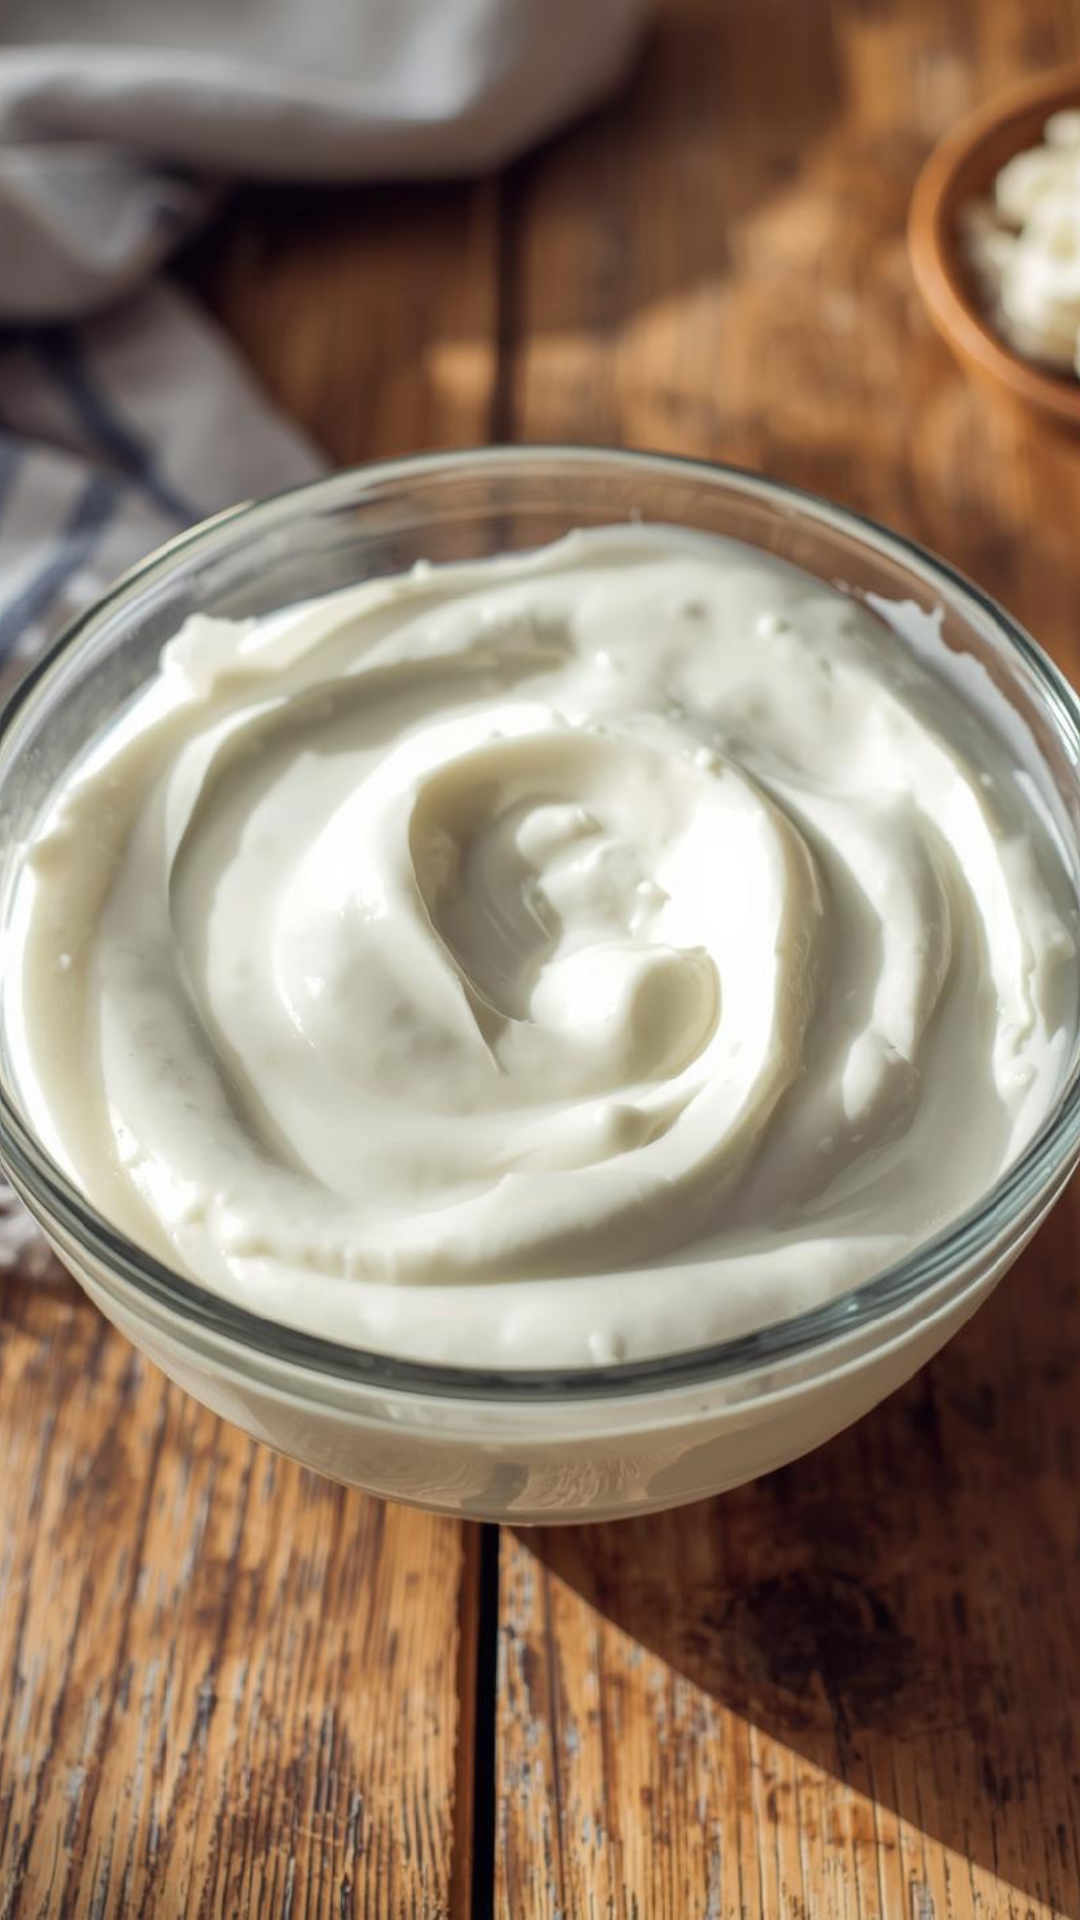
This homemade Greek yogurt is rich, creamy, and naturally smooth, made with just two simple ingredients. It’s healthier, more cost-effective, and far more flavorful than store-bought yogurt, making it perfect for daily use, breakfast bowls, or cooking.
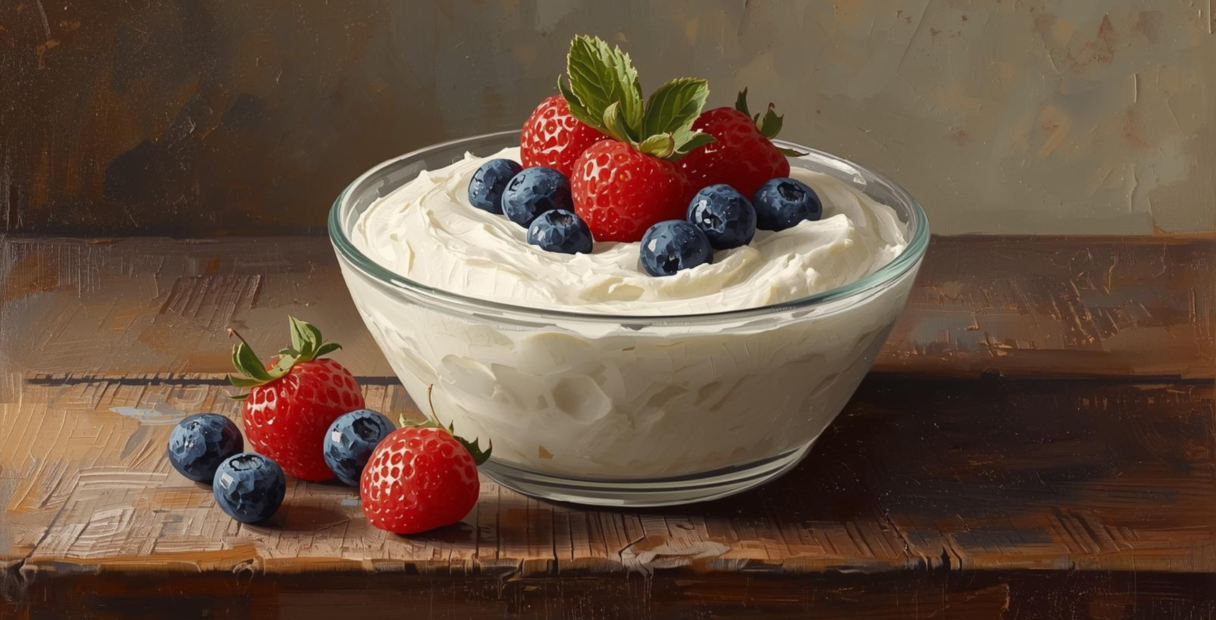
Once ready, this homemade Greek yogurt is luxuriously thick, smooth, and naturally tangy. Serve it chilled with honey, fresh fruits, or nuts, or use it in cooking and baking for a rich, wholesome touch.


- Serves: 6-8 People
- Prep Time: 15 minutes
- Cooking: 12–24 hours (including resting & chilling)
- Difficulties: supereasy
Ingredients
For Cooking
- 2 liters Full-fat milk
- 3 tablespoons Plain Greek yogurt (starter culture)
- 4–5tablespoons Warm milk (to activate starter)
For Dressing
- 1 tablespoon Honey
- 2 tablespoons Fresh fruits (berries, banana, apple)
- 1 tablespoon Nuts or seeds (almonds, walnuts, chia)
- ½ teaspoon Vanilla extract (optional)
Nutritional Information
-
Calories
120 kcal -
Saturated Fat
3.5 g -
Carbohydrates
7 g -
Sugar
6 g -
Protein
10 g -
Trans Fat
0 g -
Calcium
150 mg -
Sodium
50 mg -
Probiotics
High
Procedure
-
10–15 minutesMark As Complete
Heat the Milk
Pour the milk into a heavy-bottom pan and place it on medium heat. Stir continuously to prevent sticking or burning at the base. Heat the milk slowly until it reaches a gentle boil. Proper heating helps improve the final yogurt texture.
-
20–30 minutesMark As Complete
Cool the Milk
Turn off the heat once the milk boils and allow it to cool naturally. Let the temperature drop to around 82–85°C (warm to touch, not hot). Cooling is essential so the yogurt culture remains active and effective.
-
3–5 minutesMark As Complete
Prepare Yogurt Starter
In a small bowl, add Greek yogurt and mix it with a few tablespoons of warm milk. Whisk gently until smooth and lump-free. This ensures the starter blends evenly into the milk.
-
2–3 minutesMark As Complete
Add Starter to Milk
Pour the prepared yogurt starter into the warm milk. Stir slowly in one direction to combine without disturbing the milk structure. Cover the dish with a lid or clean kitchen towel.
-
6–8 hours (or overnight)Mark As Complete
Ferment the Yogurt
Place the covered dish in a warm environment such as a preheated (but switched-off) oven. Leave it undisturbed so the yogurt can set properly. Longer fermentation results in thicker and tangier yogurt.
-
2 minutesMark As Complete
Check Yogurt Consistency
Remove the yogurt from the warm place and check its texture. It should be thick, smooth, and set with minimal liquid. At this stage, you have regular homemade yogurt.
-
1–2 hours (or overnight)Mark As Complete
Strain the Yogurt
Line a sieve with cheesecloth and place it over a bowl. Pour the yogurt into the cloth and allow excess whey to drain naturally. The longer it strains, the thicker the Greek yogurt becomes.
-
2–4 hoursMark As Complete
Chill the Yogurt
Transfer the strained yogurt to an airtight container and refrigerate. Chilling improves texture and flavor while fully setting the yogurt. Discard or reuse the whey as desired.
-
1–2 minutesMark As Complete
Ready to Serve
Remove the yogurt from the fridge and give it a gentle stir. Serve plain or top with honey, fruits, or nuts. Store leftovers in the refrigerator for up to one week.